It’s very healthy as a creator to find several sources of inspiration for when you might need a hand with your next big idea. I draw my inspiration for my photographs from numerous art forms. Today, I would like to share some of what I have found to be the most inspirational pieces for me with you.
Paintings:
Paintings like Van Gogh’s Starry Night and several of Piet Mondrian’s Compositions and Tableaus (both series) are fascinating to me. I enjoy getting lost in the colours and shapes within the images and dreaming of how I can bring such impact into my work.
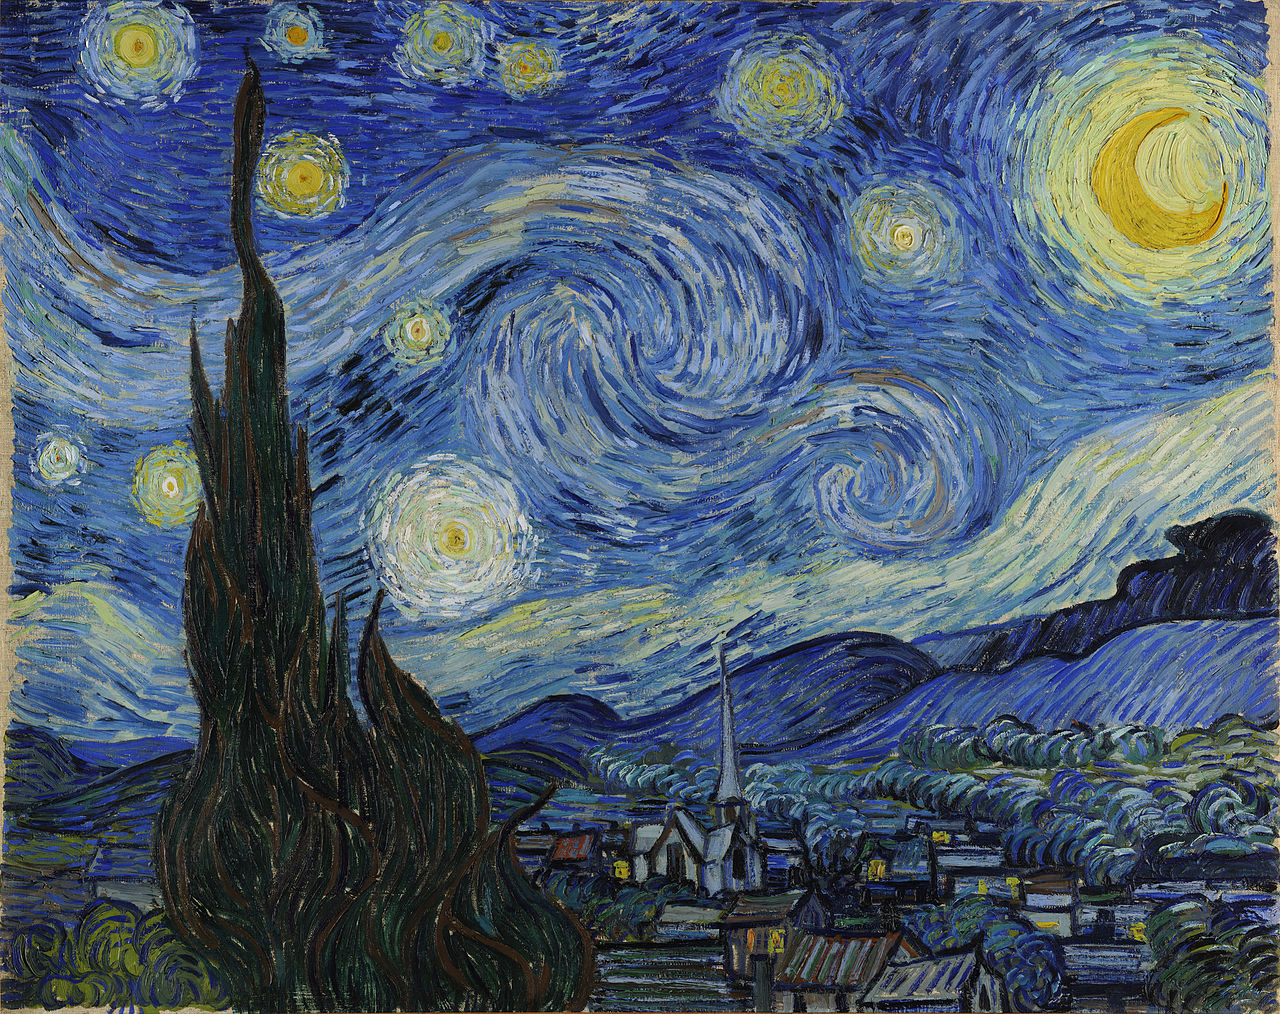
Van Gogh's Starry Night, 1889, part of the permanent collection of New York City's Museum of Modern Art

Piet Mondrian's Composition II in Red, Blue, and Yellow, 1930,
Film:
Whenever I watch a movie, I will often pay more attention to elements that make up the visuals of the film than the plot. How each shot is composed, the actors’ expressions, and the elements of the set are what I primarily observe. The attention to detail brought into each piece and scene help to make me conscious of how I set up each shot I take as a photographer.
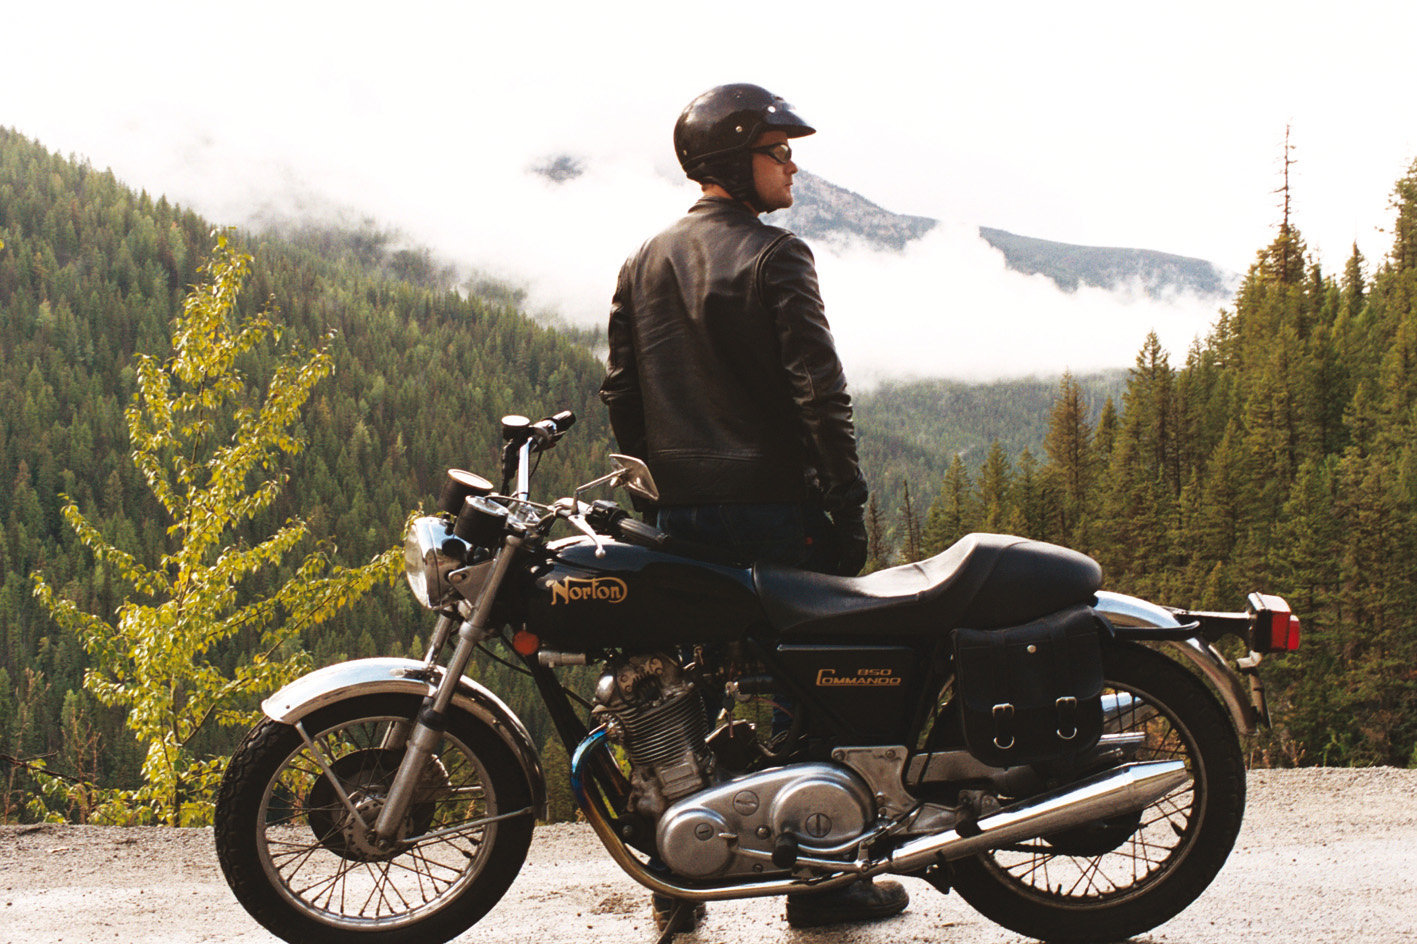
A still from the movie One Week, a 2008 Canadian film directed by Michael McGowan
Comic Books:
Each scene and frame within a comic book is carefully calculated and composed. The framing has to make sense with the story while still being compelling and artful. Drawing inspiration from comic books helps me to slow down and look at my own framing and composition within my work and critically analyze if suites the photograph.
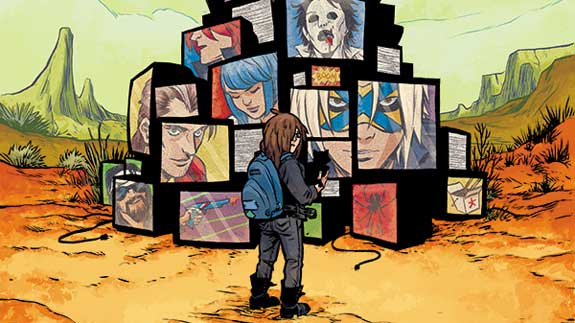
Artwork from The True Lives of the Fabulous Killjoys, 2013, Dark Horse Comics, written by Gerard Way and Shaun Simon, artwork by Becky Cloonan
Music:
For me, music is one of my key areas of inspiration. The lyrics, rhythms, and music videos all have several creative elements that can be used anywhere from the conception of the photograph to it’s visual appearance.

Some of the various albums I have added to my library in the past months.
Magazines:
Magazines are an incredible source of news and information, as well as inspiration. Photography magazines such as PhotoEd give me ideas for lighting and themes, and contemporary art magazines such as Hi-Fructose provide artistic inspiration.
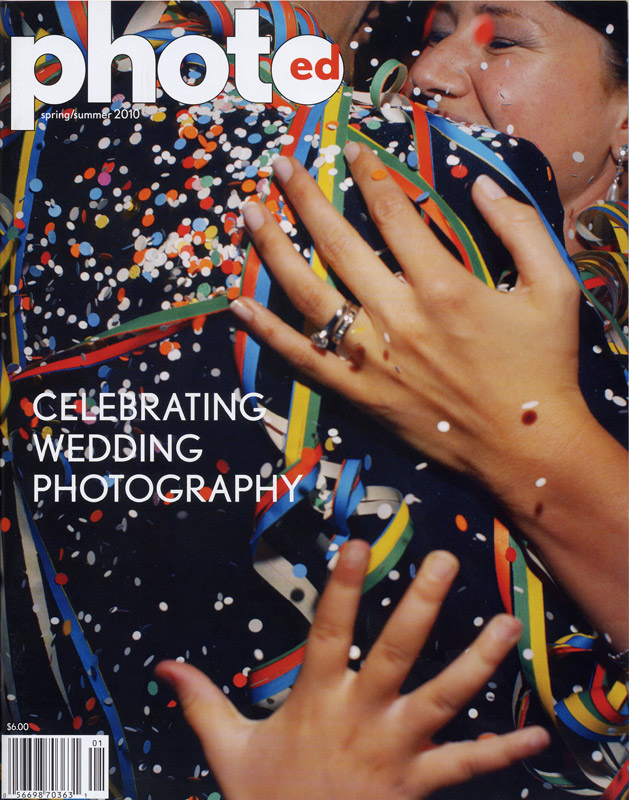
A past cover of PhotoEd Magazine

A past cover of Hi-Fructose Magazine
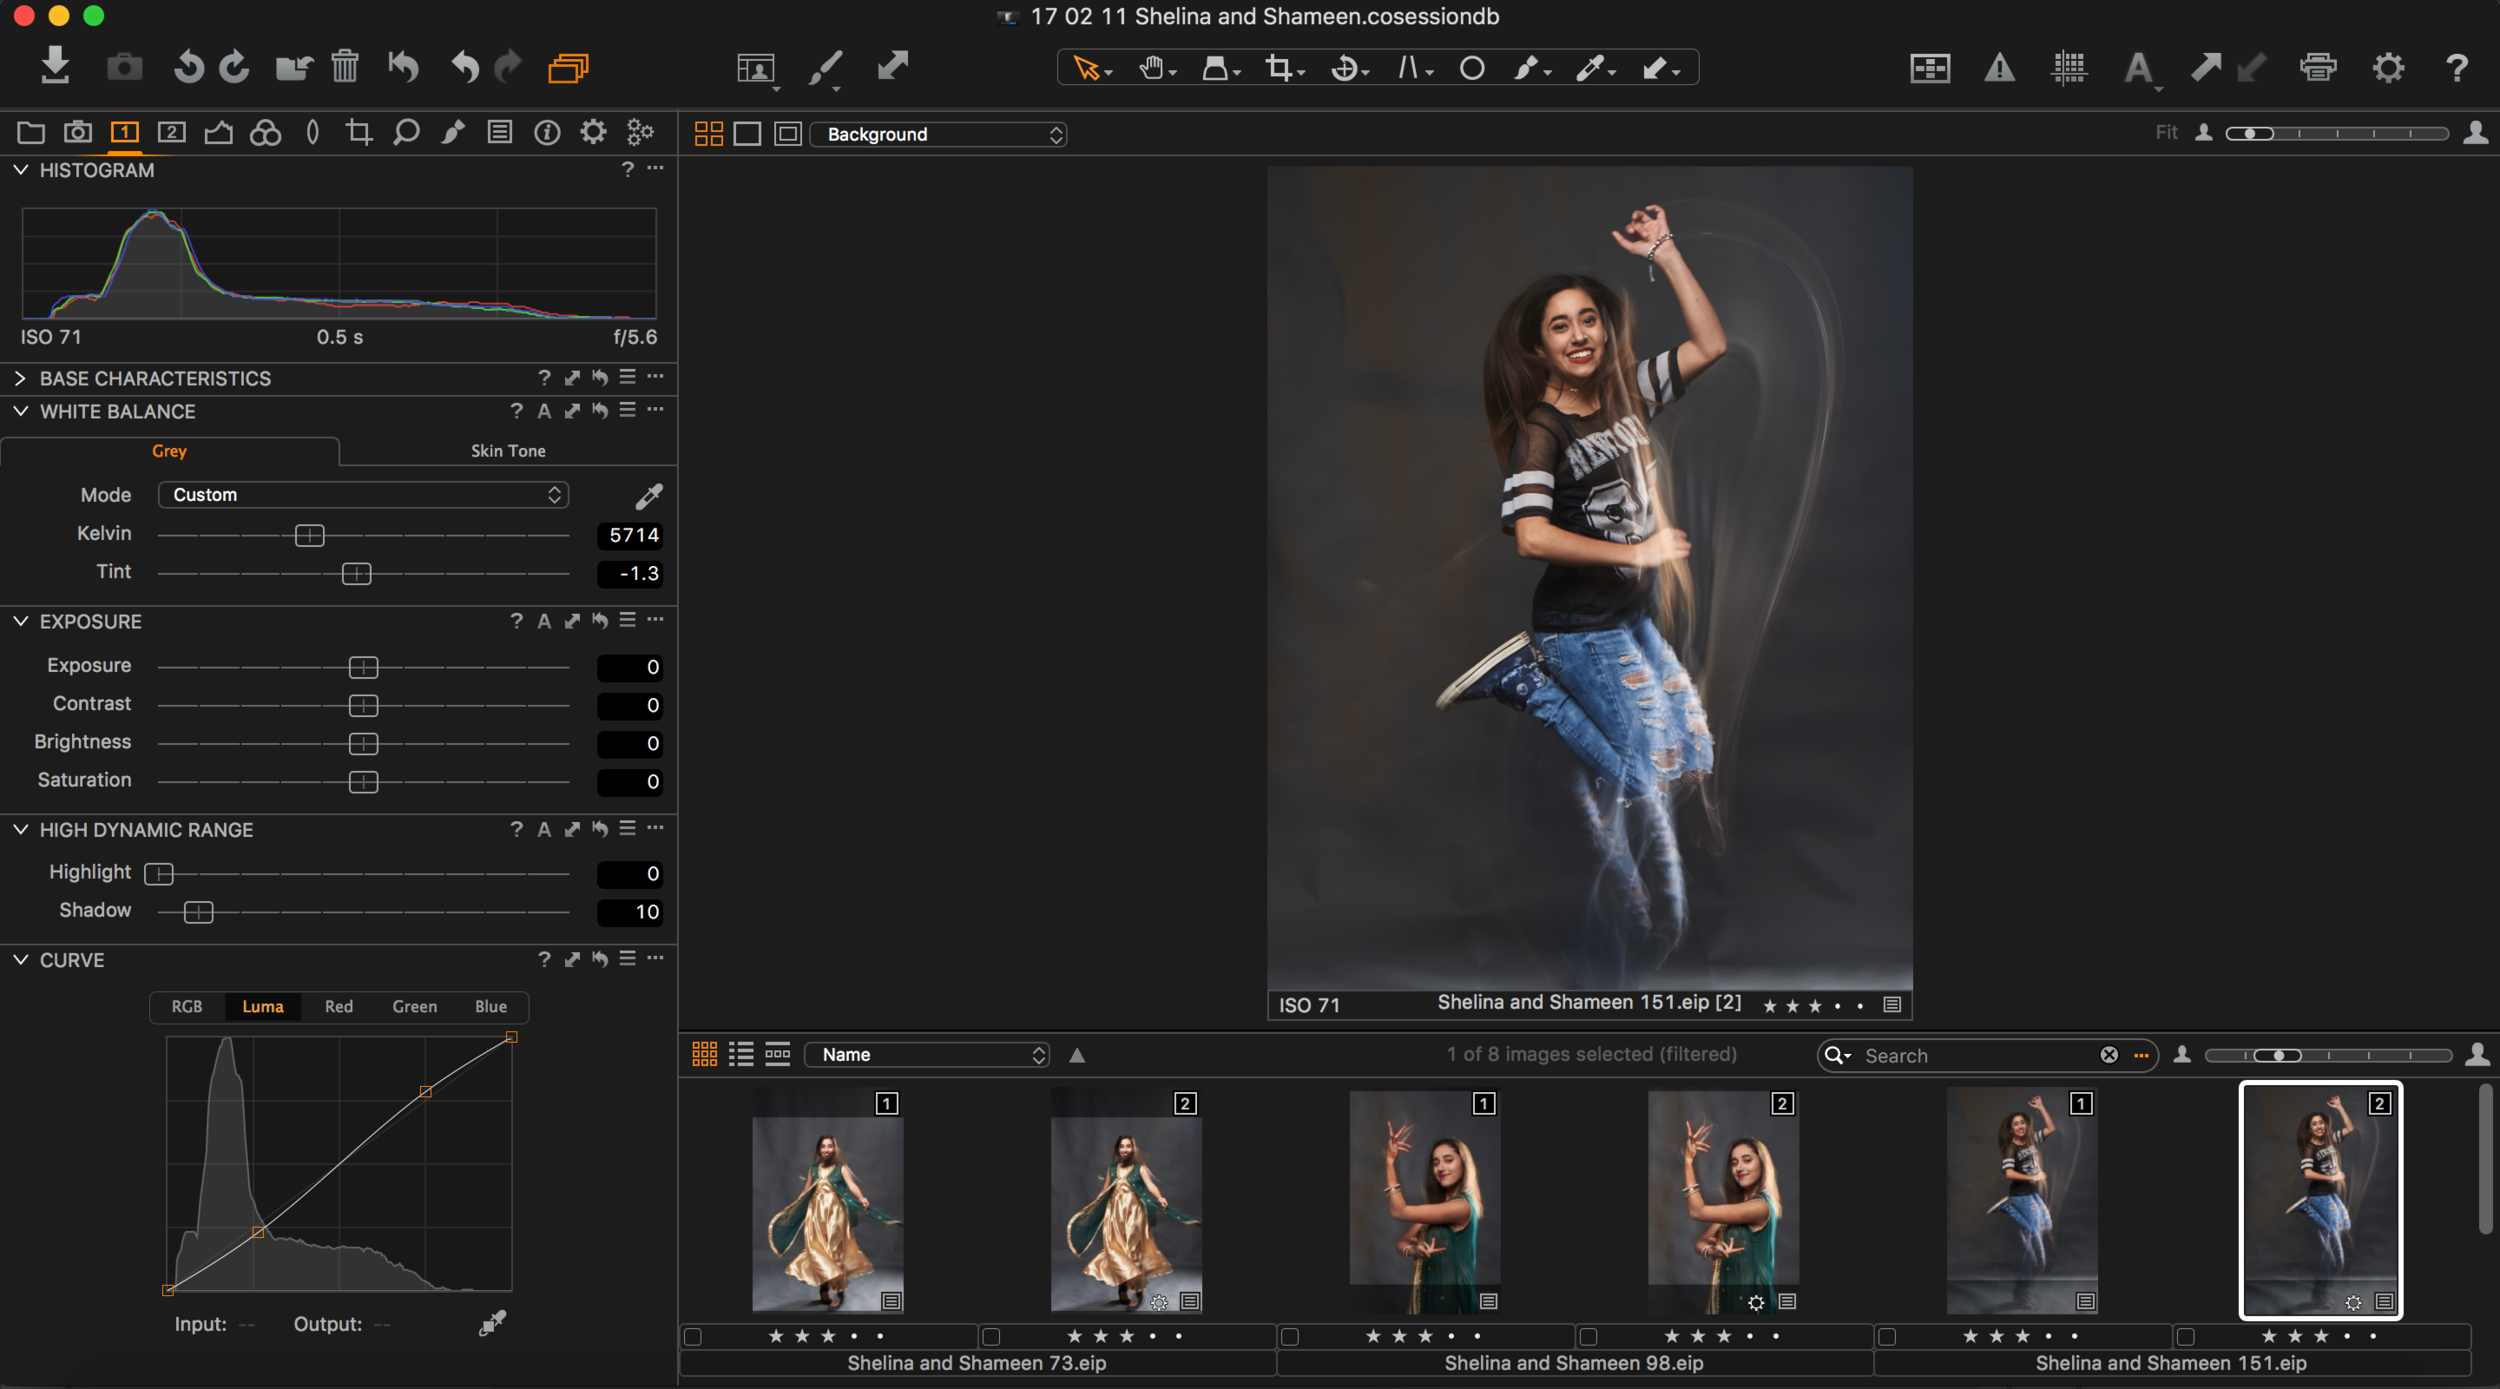
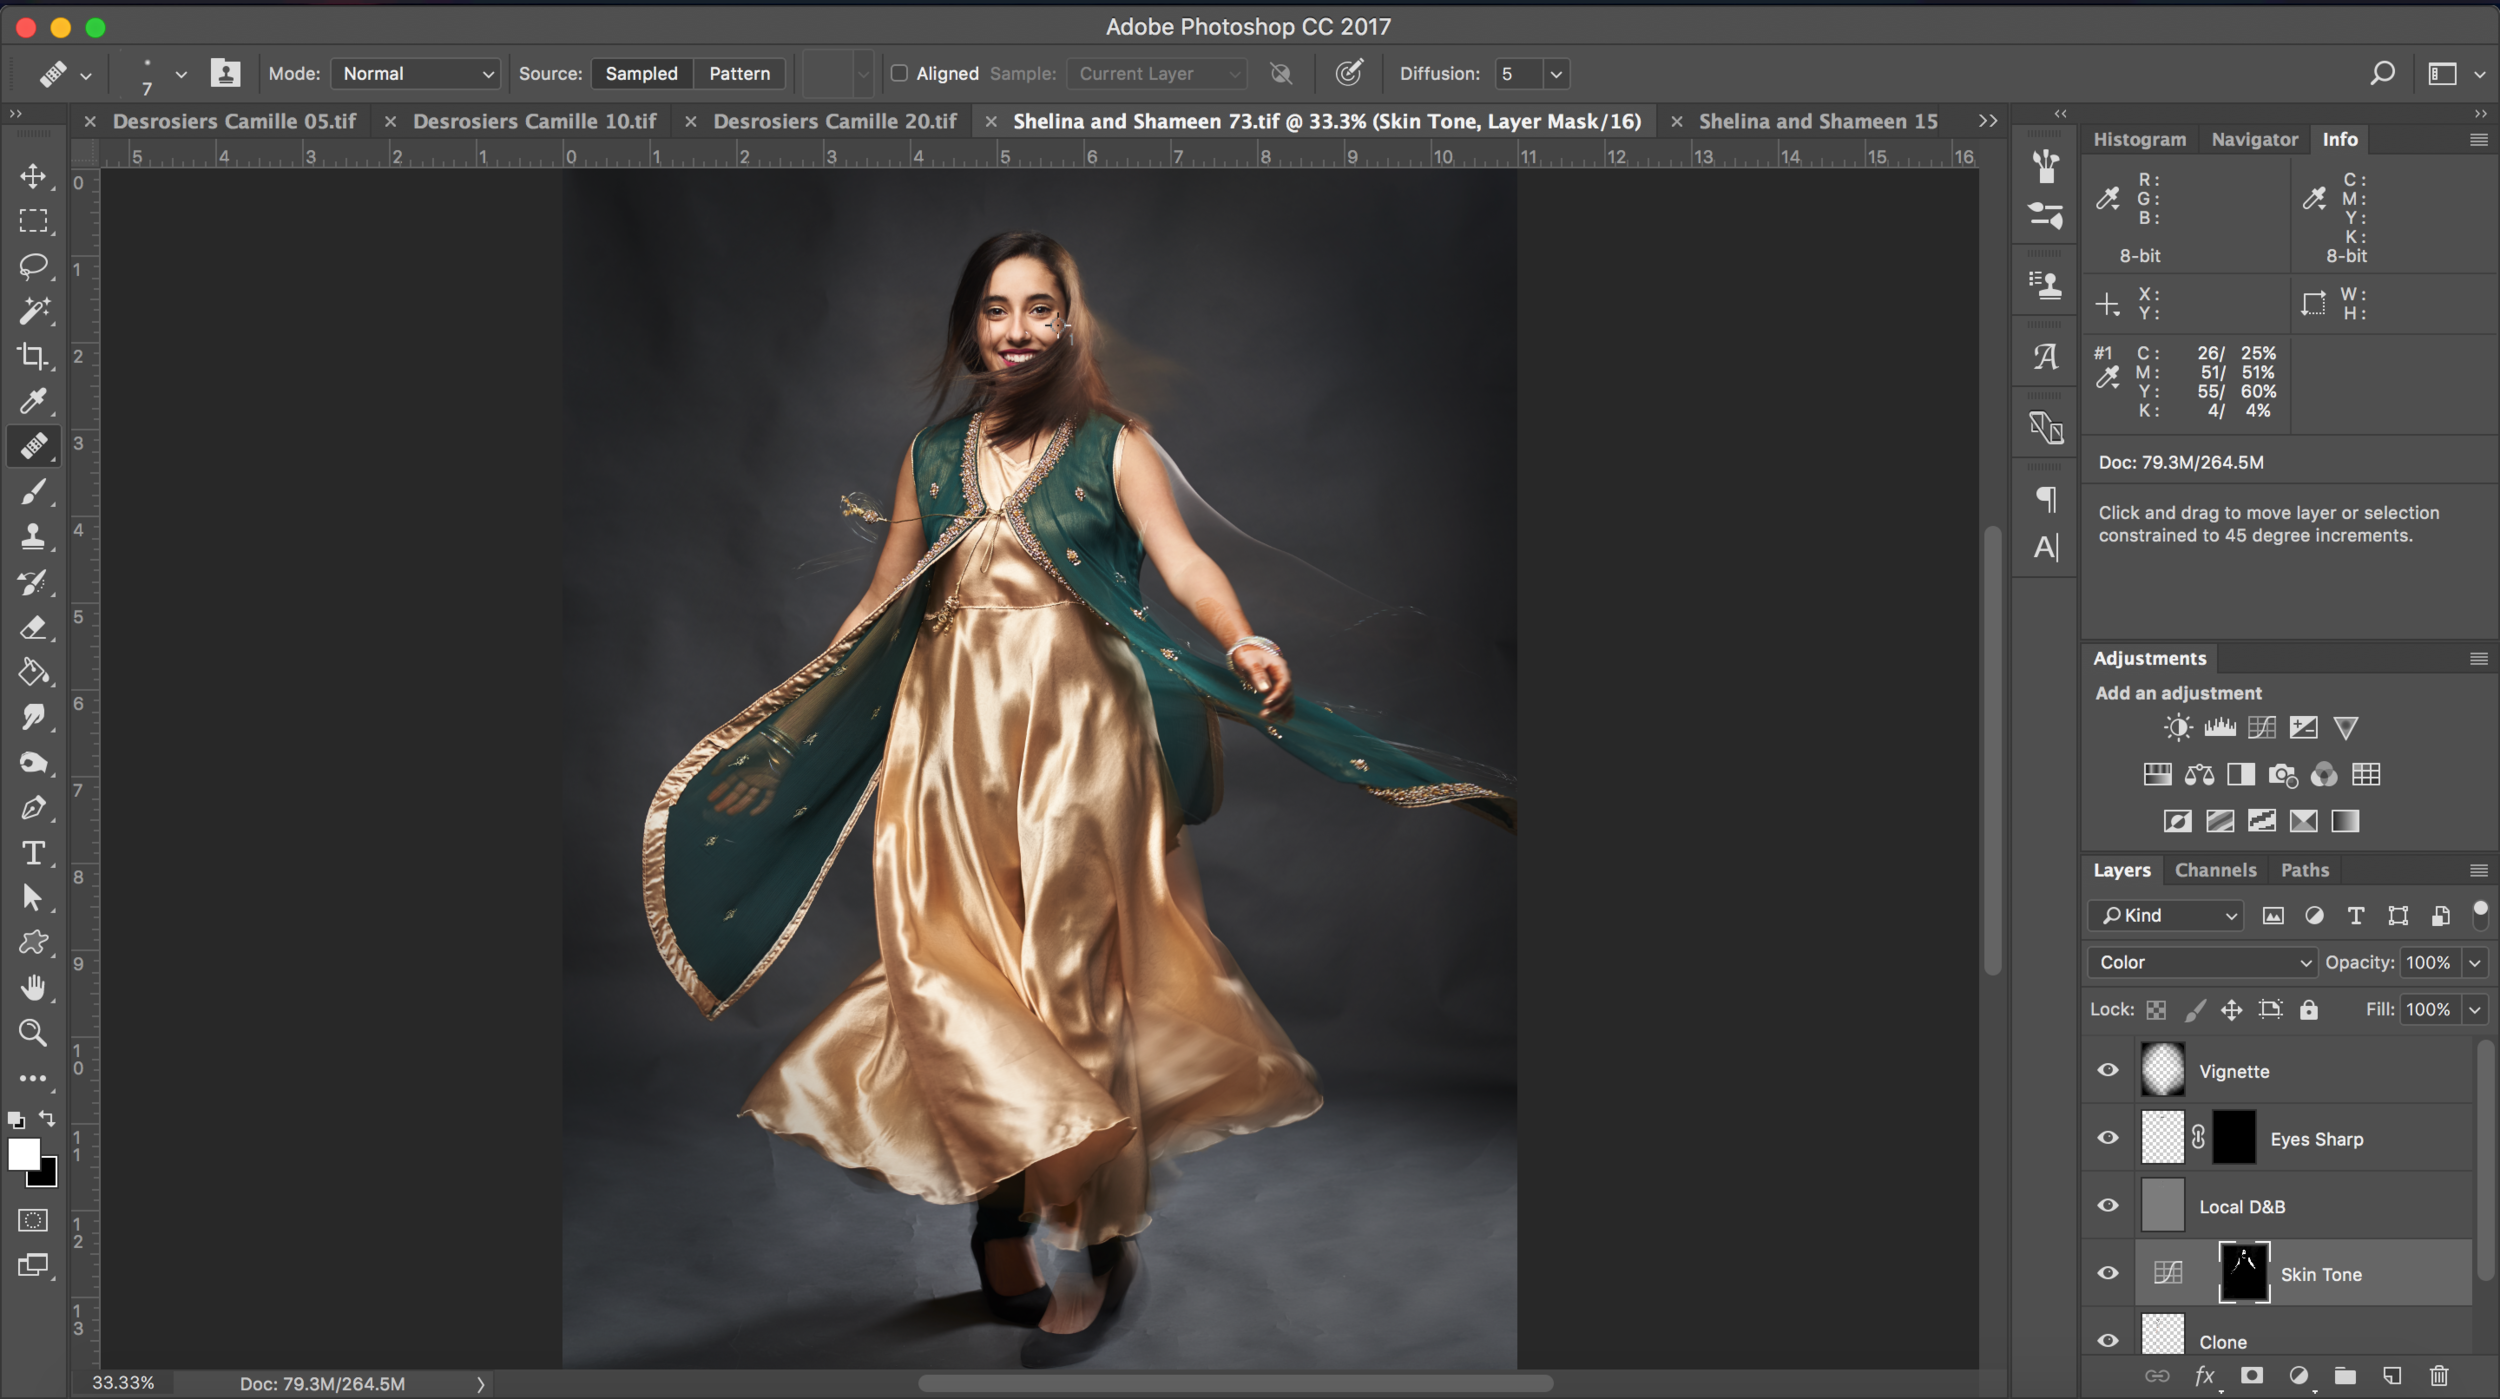
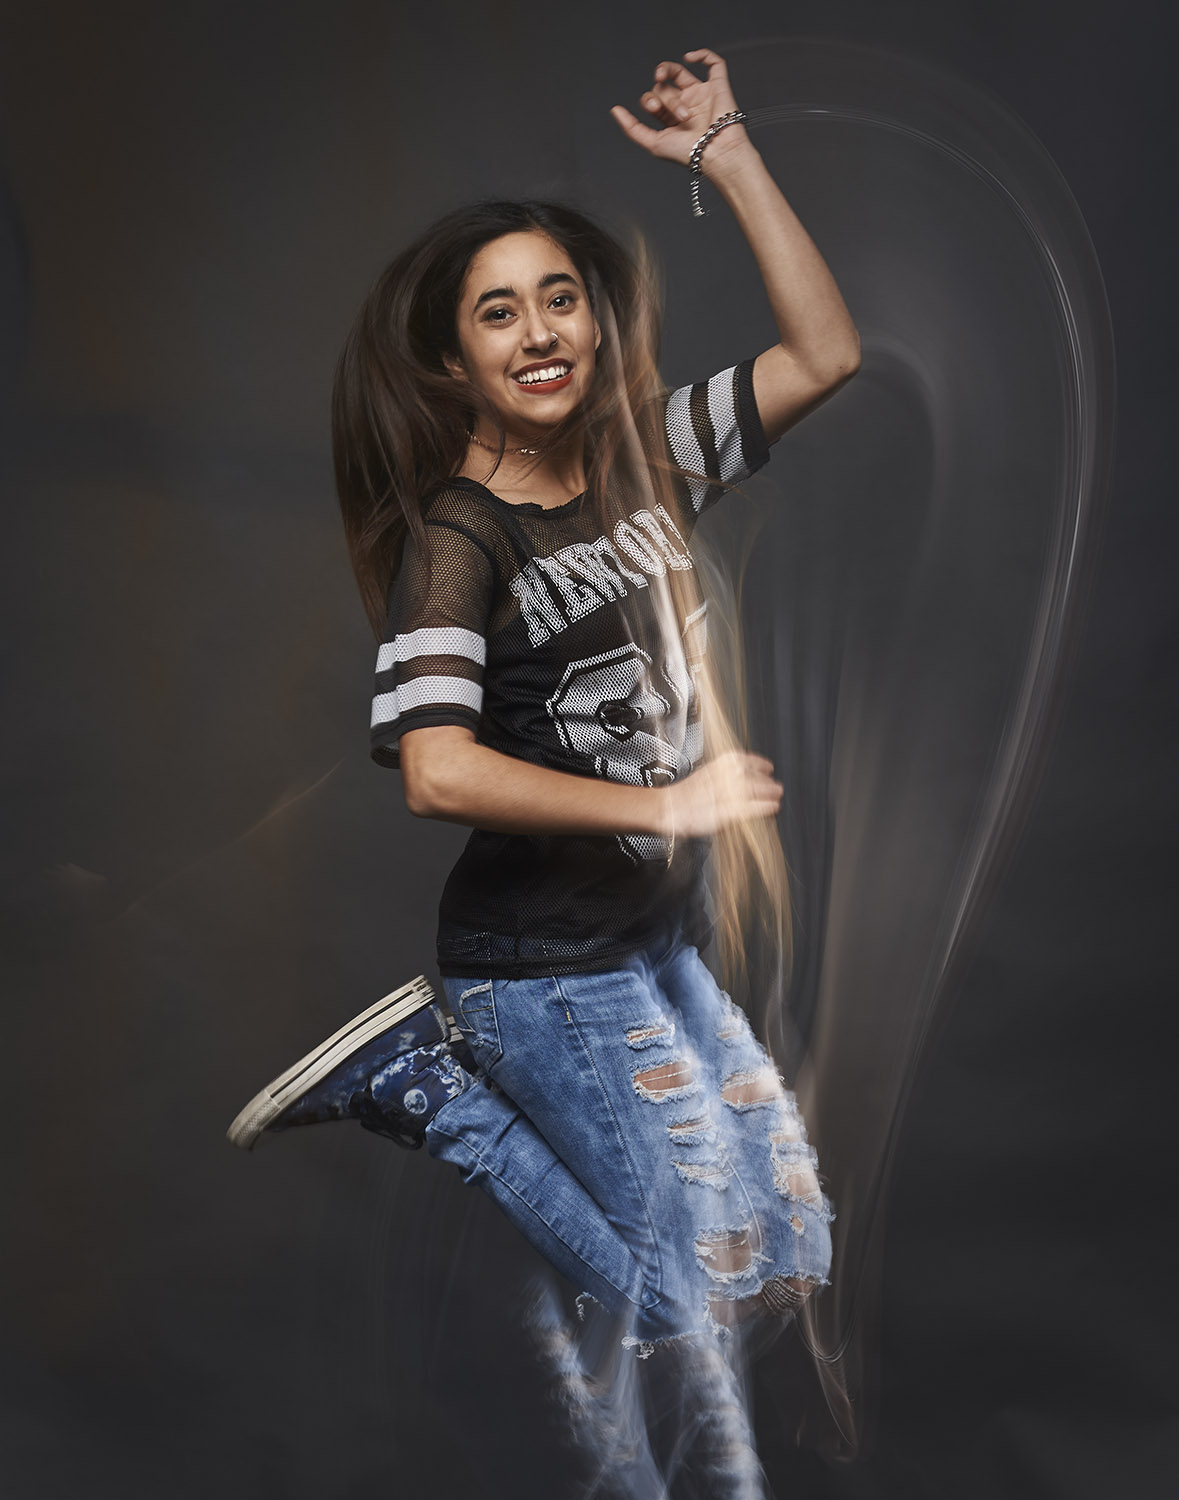
My Clients:
Yes, even my clients give me inspiration! Their energy, their vision, it all empowers me to create beautiful images they will love! I love it when clients approach me with ideas they have or even show me work from other photographers that they enjoy. It helps to keep us on the same page so that we are both working towards the same image.

So there you have it! My inspirations for my photography. Stay tuned for more blog posts.
Have a wonderful day!