My Editing Process

Just as every photographer has a preferred system for how they approach a shoot, each photographer also has a system for processing their images. My favourite editing process involves three steps (albeit with many “substeps”):
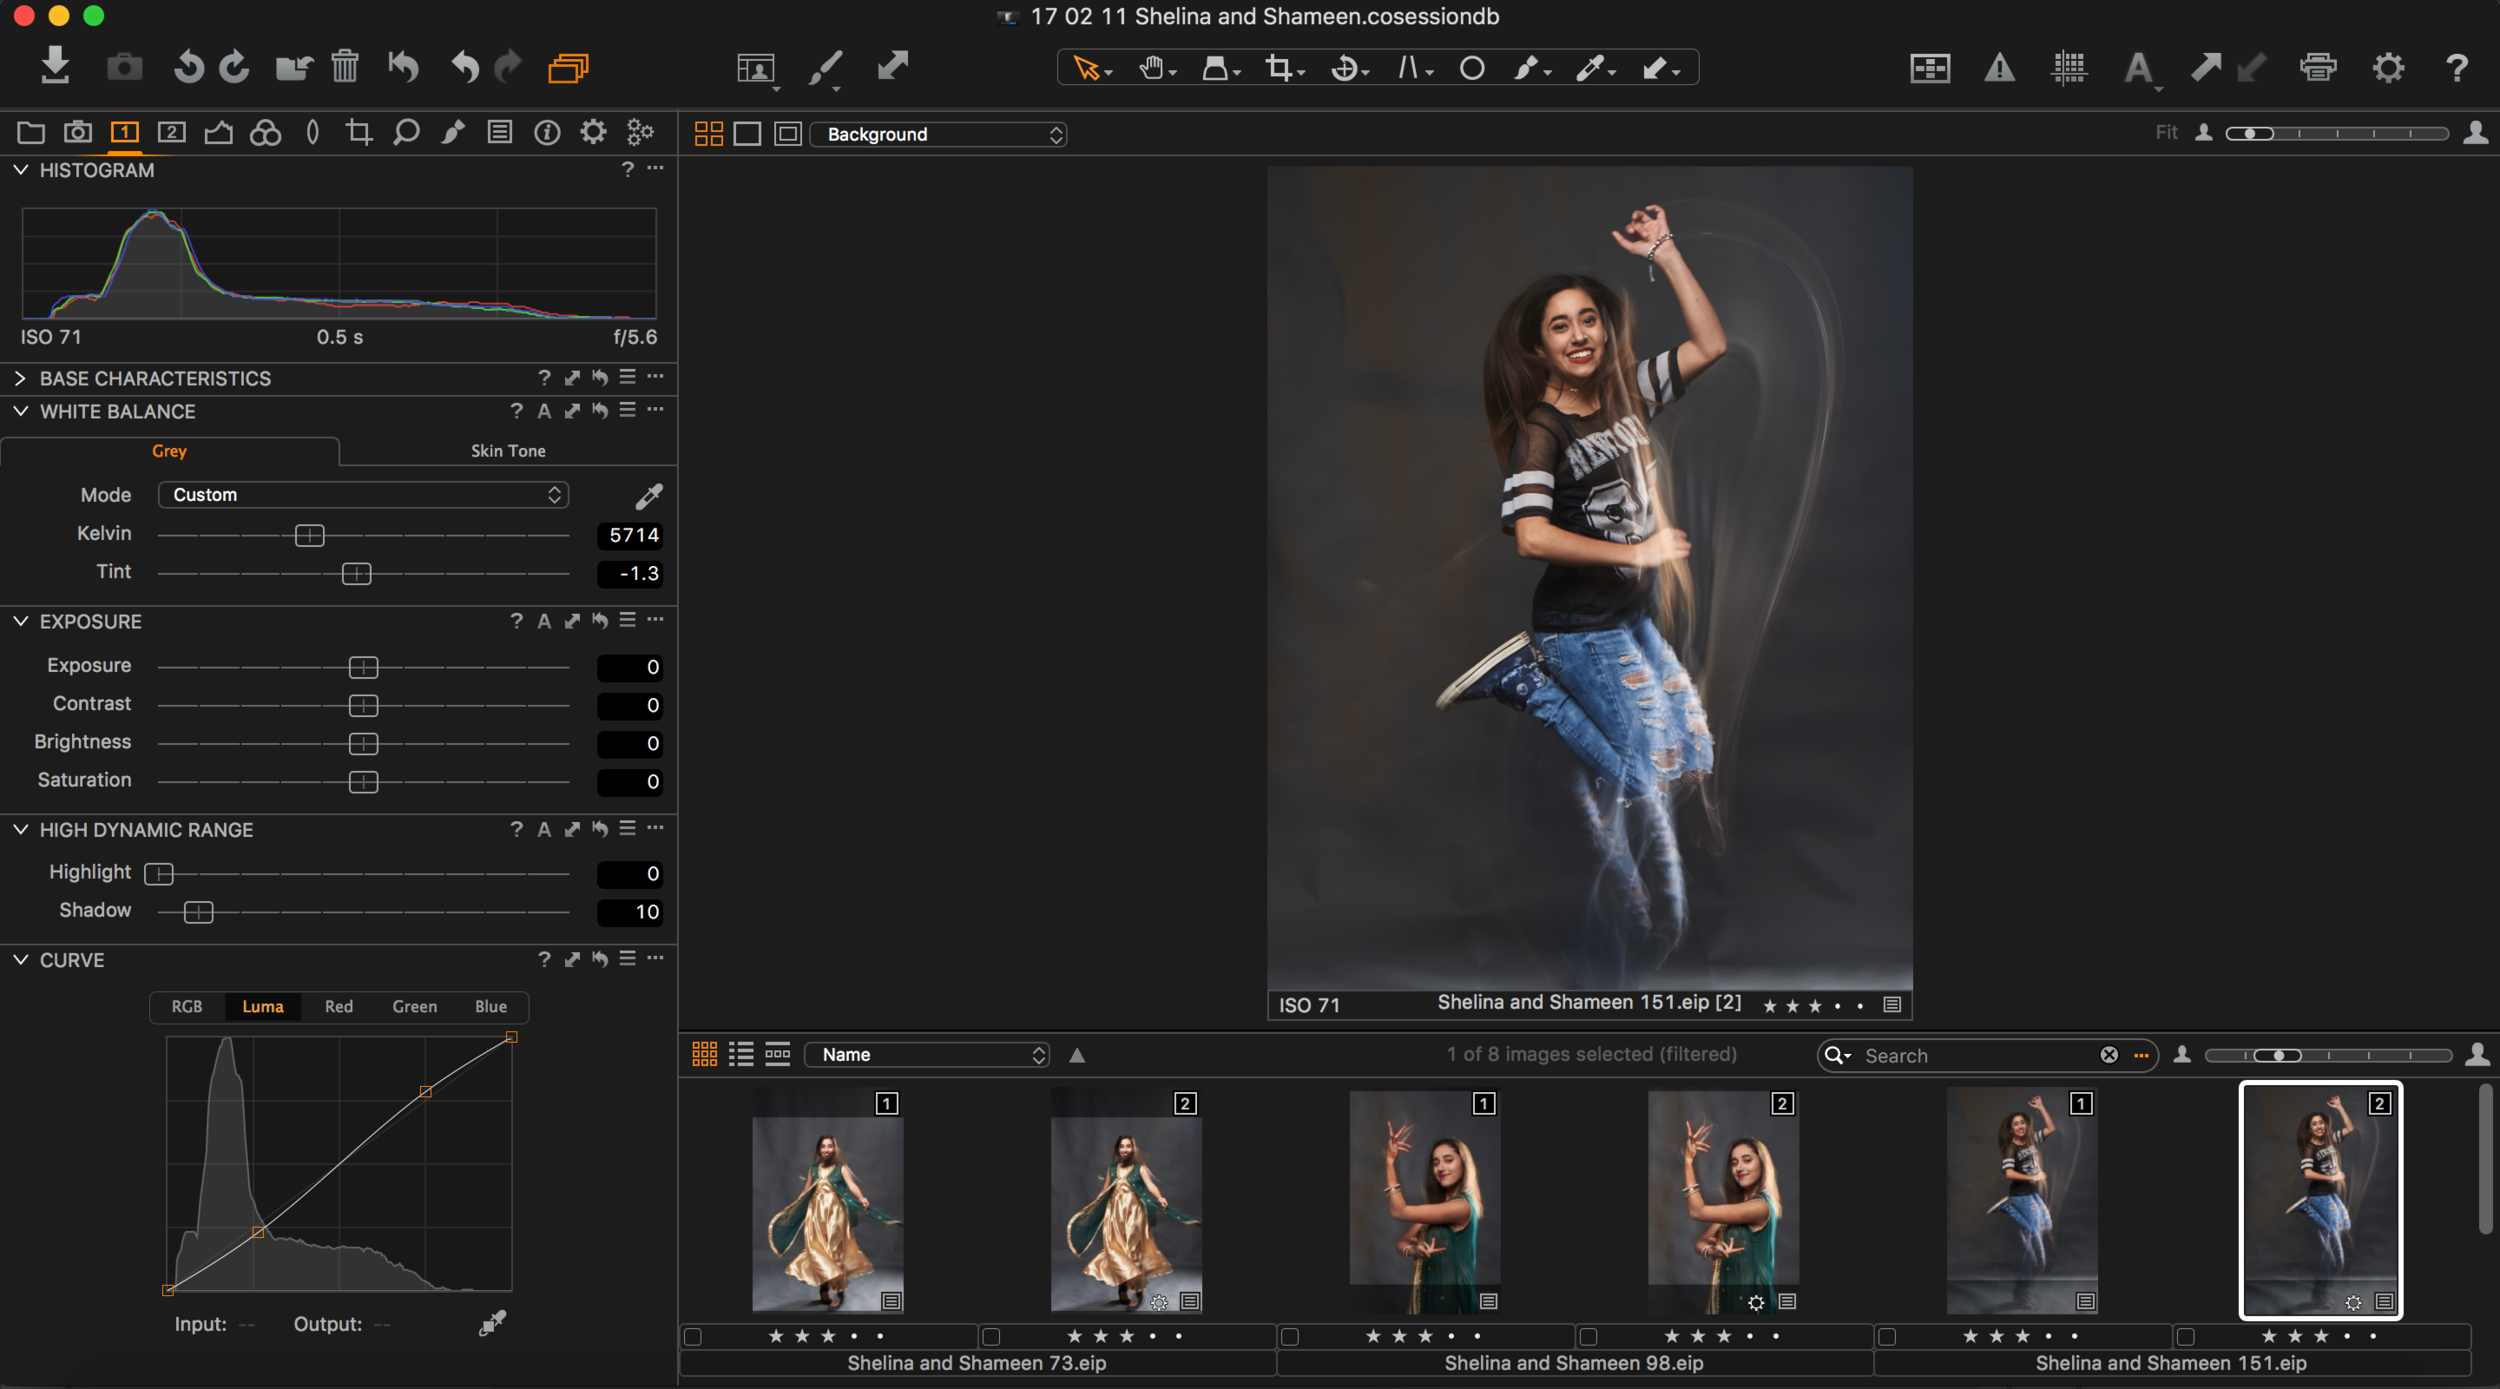
1. Capture One Pro

I always shoot with RAW images as it gives me the most data to play with while editing. Capture One Pro is my preferred software for taking care of these photos. In this software, I import, organize, then select my favourite photographs from the photo shoot. From there the photos are adjusted for exposure, lens aberrations, and any other minor needed adjustments before being exported to Photoshop.
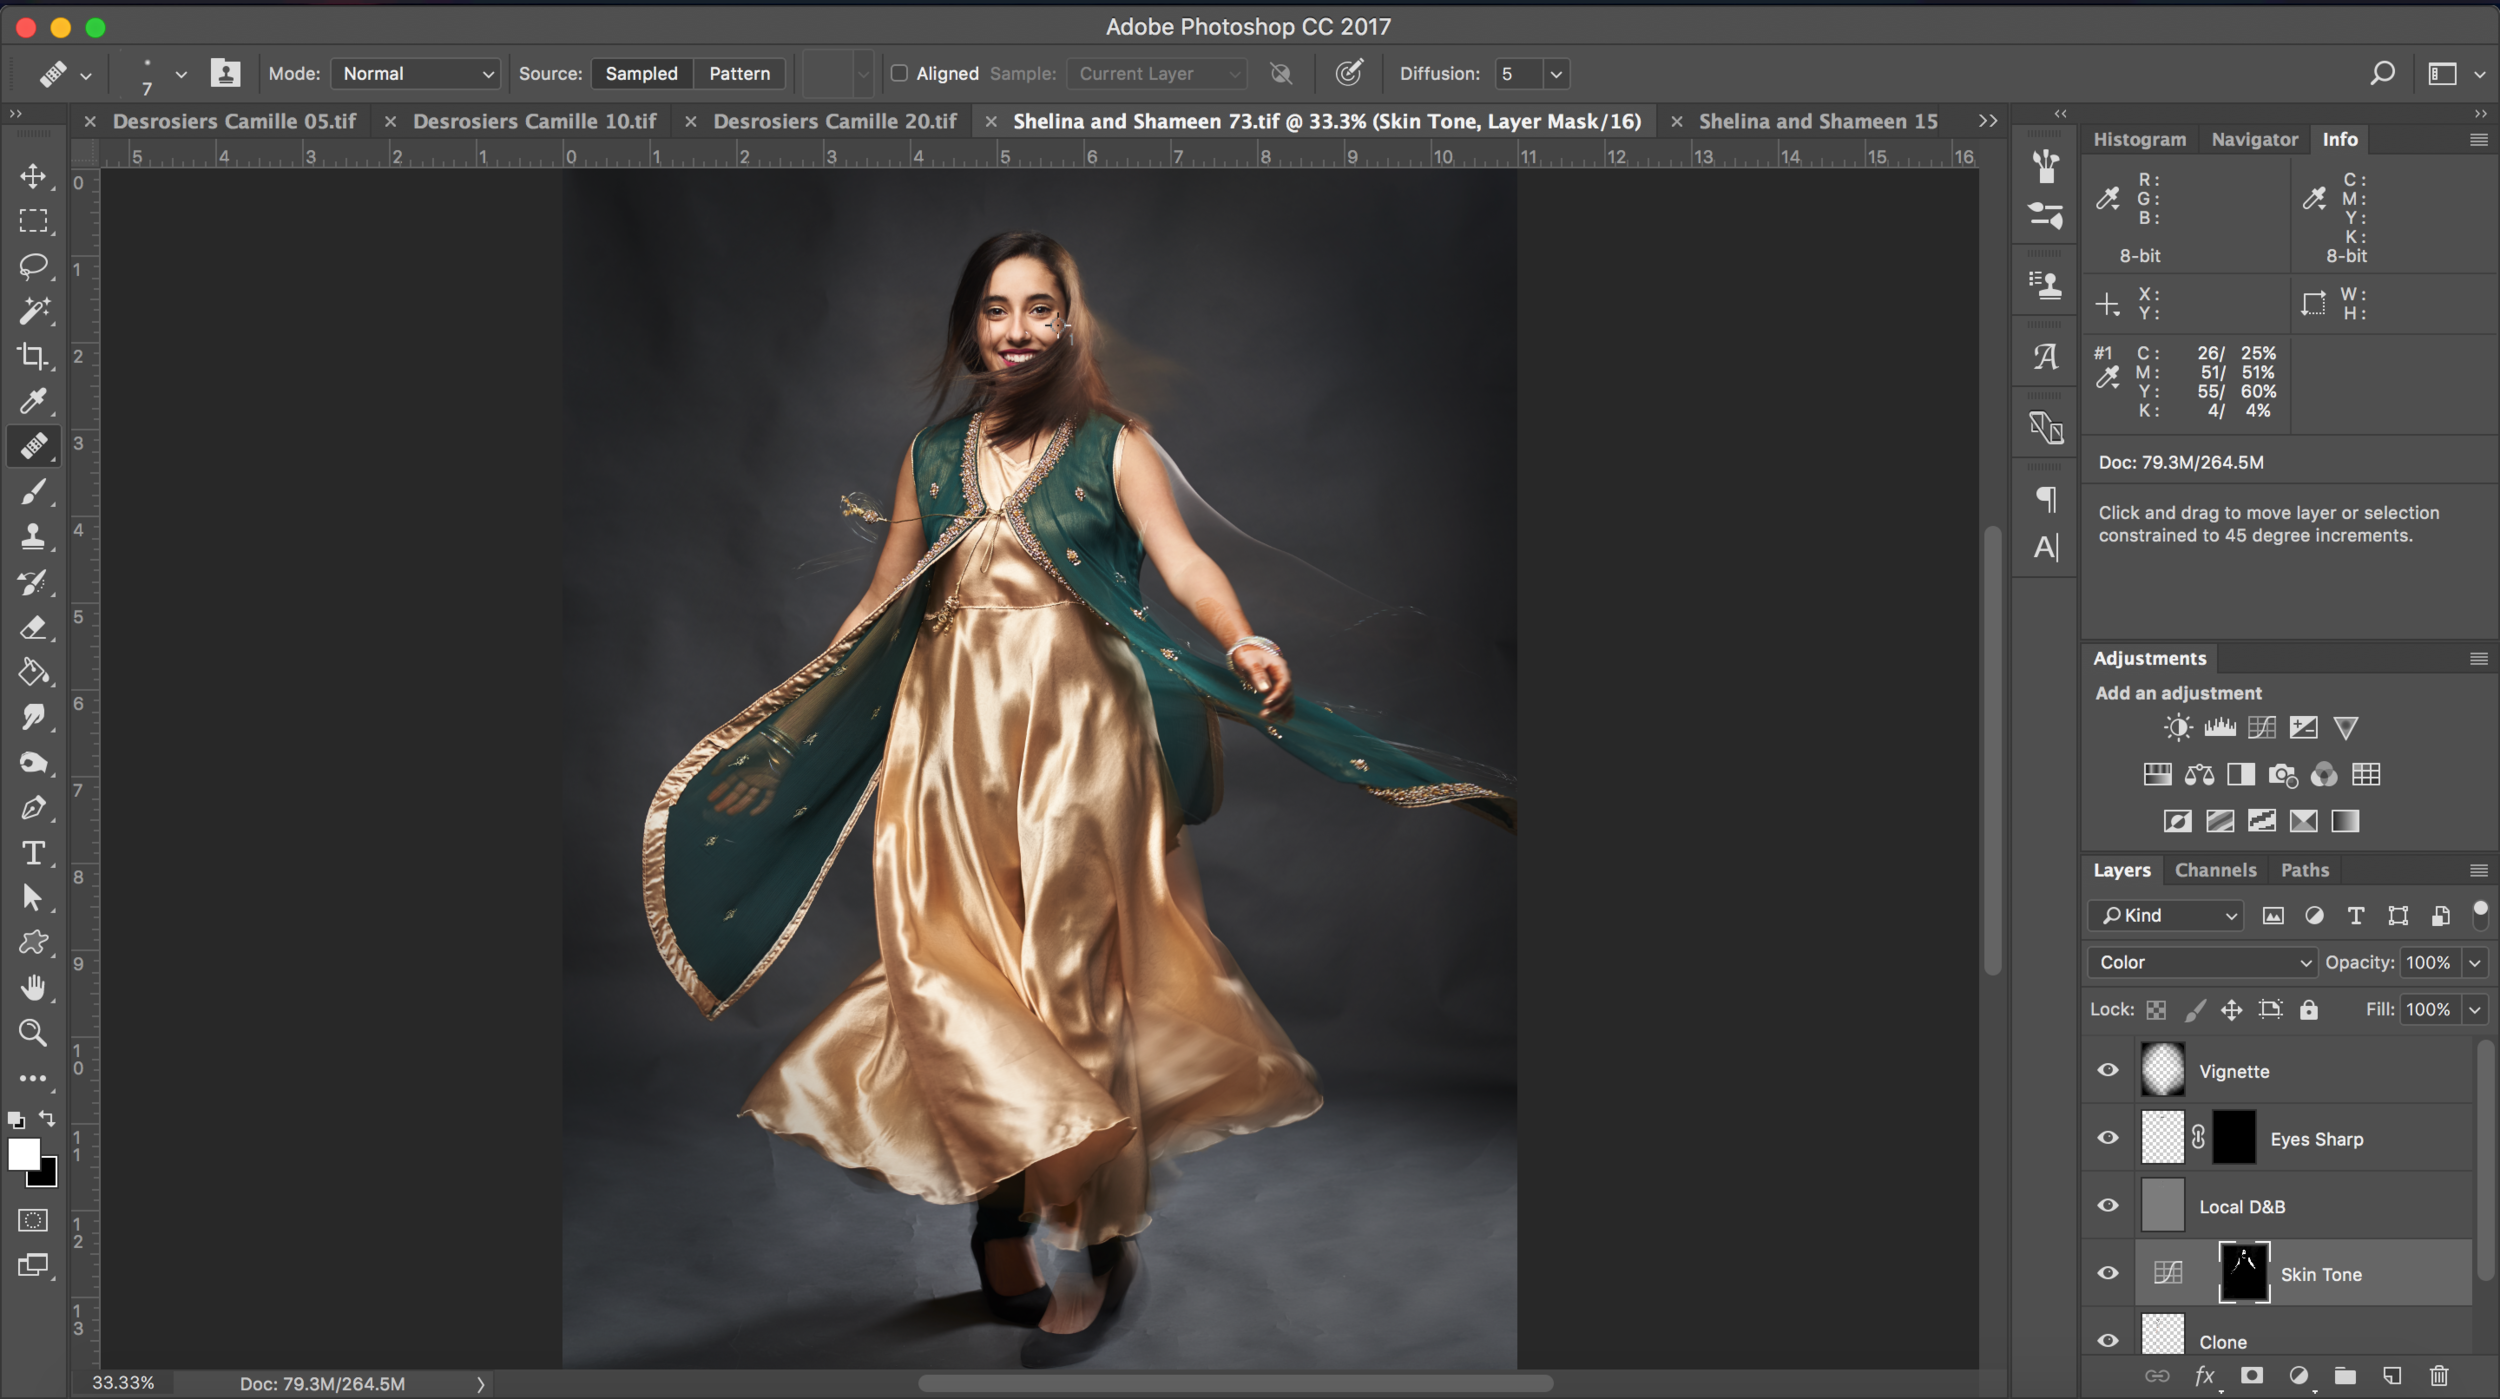
2. Photoshop
Believe it or not, this is the (long) final stretch of my photo creating process! My Photoshop work typically consists of “cloning” out any blemishes, evening out skin tone, and selective and global contrast. If desired, I’ll even put in some creative elements, adjusting the colour, maybe adding a vignette, or playing around with any effects or filters. This leads us to my last step.

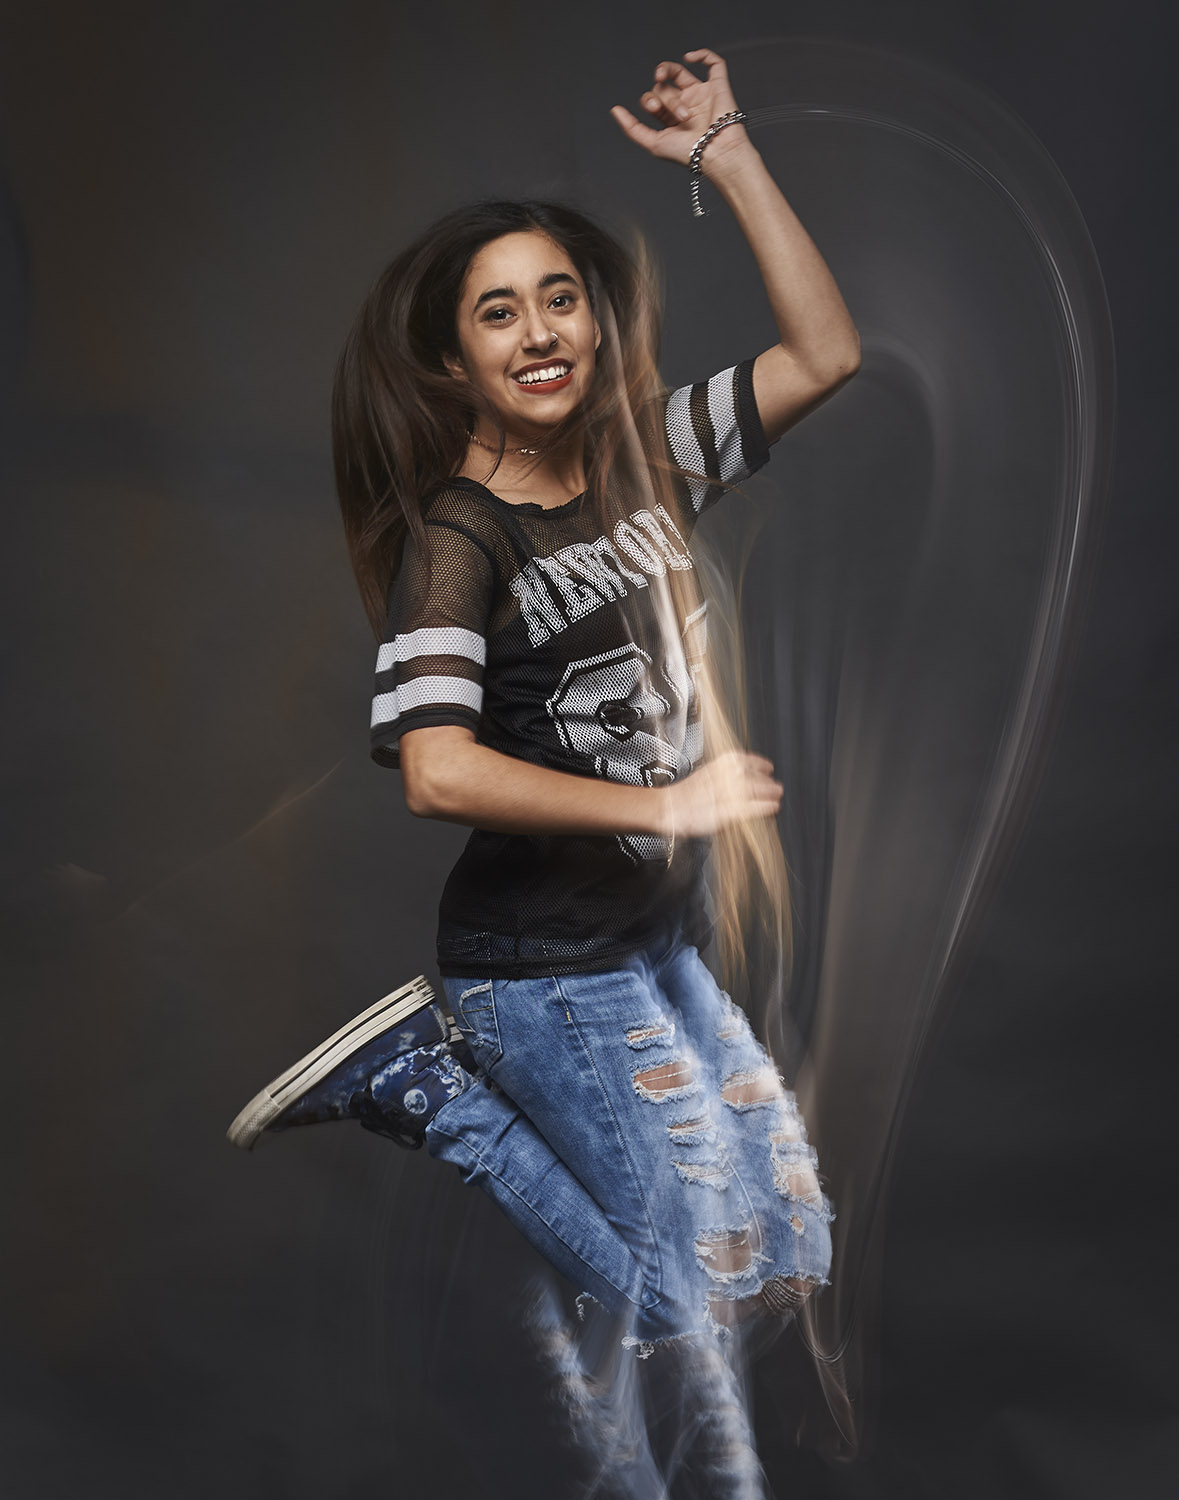
3. Export, Deliver, and Enjoy!

 At this point, the photos are ready to be shared with the world! I export them at a low resolution for saving on the web and a high resolution for printing. The photos are then shared with my clients through either DropBox or a USB, and we all get to enjoy the images!

This process does vary from shoot to shoot and client to client depending on any requirements. Not every shoot is the same, so they don’t always need to be processed in the same way.

Thank you for following me along on this journey through my work flow!

Have a wonderful day!

My Photo Shoot Process

Every photographer has a system for how they approach a shoot. I am not exempt from this. Every single shoot that I do follows the same setup order, shooting process, and teardown. It’s a systematic process that helps me keep a shoot on track so I can focus on the task at hand and how to make it as enjoyable as process. Here are my steps to a perfect shoot.

1. Getting Gear in Order

Gif 1 - Gear.gif

 I always plan the gear I need for a shoot at least a week in advance (preferably two or more weeks). A few lenses, lighting gear, and a tripod and I’m good to go!


2. Lighting Setup

Next up is the lights. The setup and the ratio is planned days in advance so that setup is quick the day of the shoot.


3. Computer and Camera

I tether my camera to my laptop using a program called Capture One Pro whenever I’m shooting in studio. It’s convenient way to see my shots and progress immediately.


4. The Shoot

Now is the fun part! I bring my models on set and start photographing. I like to pose my models based on movements and positions that they are most comfortable in. If the model moves or sits in a way that I like, I will have them repeat it, with a few added tweaks to their stance (chin up, turn your head this way, etc.).


5. Keep Shooting!

I find that as the shoot keeps going, it gets more fun! The models get more comfortable, and I get more shots that we will both be happy with.


6. Thank the Client, Pack Up, and Go Home to Edit!

 And now is the beautiful time to see the fruits of my labour! The editing process typically starts the moment I get home from a shoot. It is so rewarding to see all the hard work put into a shoot.

Stay tuned to learn about my editing process next!

Have a wonderful day!